
I Made a Pick + Place Machine Because My University Didn’t Have One.
| 💡 Update: Join the Pick + Place Club Of UCSD: https://discord.gg/KQ8bMdYnwB
The main requirements:
- Be useful
- Be somewhat affordable
- Be finish-able
I have followed Stephen Hawes on youtube since 2020, and have danced around with the idea of making his pick and place since it was open source.
After he launched his company, I figured I could order the COTS parts and machine the rest at my school makerspace.
→ Downloaded: https://github.com/opulo-inc/lumenpnp/releases/tag/v3.0.3
→ BOM: file:///Users/abenstirling/Documents/EE/PNP/LumenPnP-v3.0.3/bom_v3.0.3.html
Printing details
## Material
These parts are designed for PLA, however, some folks have printed the parts successfully with PETG. You'll need about 1 kg of the primary filament.
There are three situations where you'll need specific filament colors:
- Transparent filament for the light mounts, `top-light-mount` and `bottom-light-mount,` `nozzle-rack`.
- Black for everything else: `z-gantry-left` and `z-gantry-right`. This helps the bottom camera distinguish the nozzle tip from the rest of the gantry. If you print in a lighter color anyway you can use a bit of blue painter's table on the bottom side of the gantry.
## Print settings
There are two different print setting profiles you'll need for printing the parts. We use PrusaSlicer's setting names, but you should be able to adapt them if you use a different slicer. Every printer is a little different, but these settings should be a reasonable starting point. You can tune them as needed once you print the calibration print in the next step.
### Default Settings
These settings are used for the majority of the parts:
- [Layer height](https://help.prusa3d.com/article/layers-and-perimeters_1748#layer-height): 0.2 mm
- Vertical shells > [Perimeters](https://help.prusa3d.com/article/layers-and-perimeters_1748#perimeters): 3
- Infill > [Fill density](https://help.prusa3d.com/article/infill_42#fill-density): 20%
- Horizontal shells > [Solid Layers](https://help.prusa3d.com/article/layers-and-perimeters_1748#solid-layers-top-bottom): 5 for top and bottom
- Support material > [Generate support material](https://help.prusa3d.com/article/support-material_1698#generate-support-material): yes
### Gantry Settings
These settings are used for parts that require more strength:
- [Layer height](https://help.prusa3d.com/article/layers-and-perimeters_1748#layer-height): 0.2 mm
- Vertical shells > [Perimeters](https://help.prusa3d.com/article/layers-and-perimeters_1748#perimeters): 4
- Infill > [Fill density](https://help.prusa3d.com/article/infill_42#fill-density): 30%
- Horizontal shells > [Solid Layers](https://help.prusa3d.com/article/layers-and-perimeters_1748#solid-layers-top-bottom): 5 for top and bottom
- Support material > [Generate support material](https://help.prusa3d.com/article/support-material_1698#generate-support-material): yes
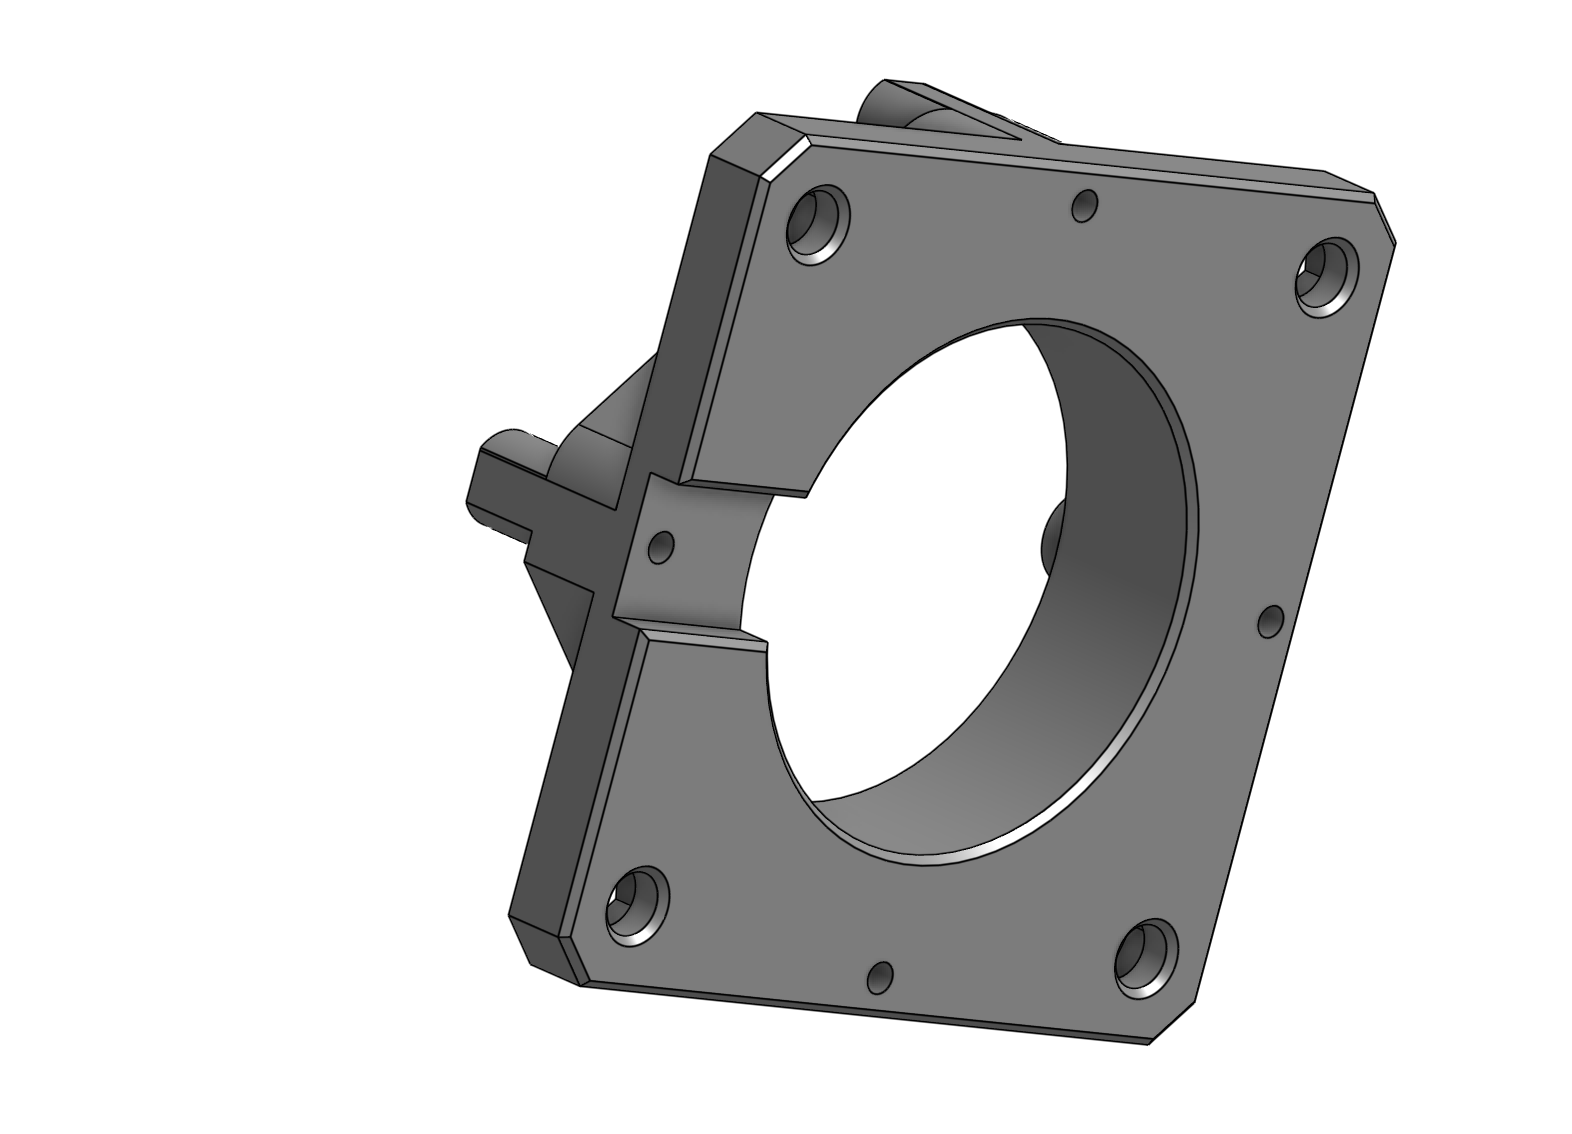
Use gantry settings for the following parts:
- y-gantry
- y-gantry-support
- roller-spacer
- x-gantry-front
- x-gantry-back
- x-idler-mount
- z-gantry-left
- z-gantry-right
To-Do
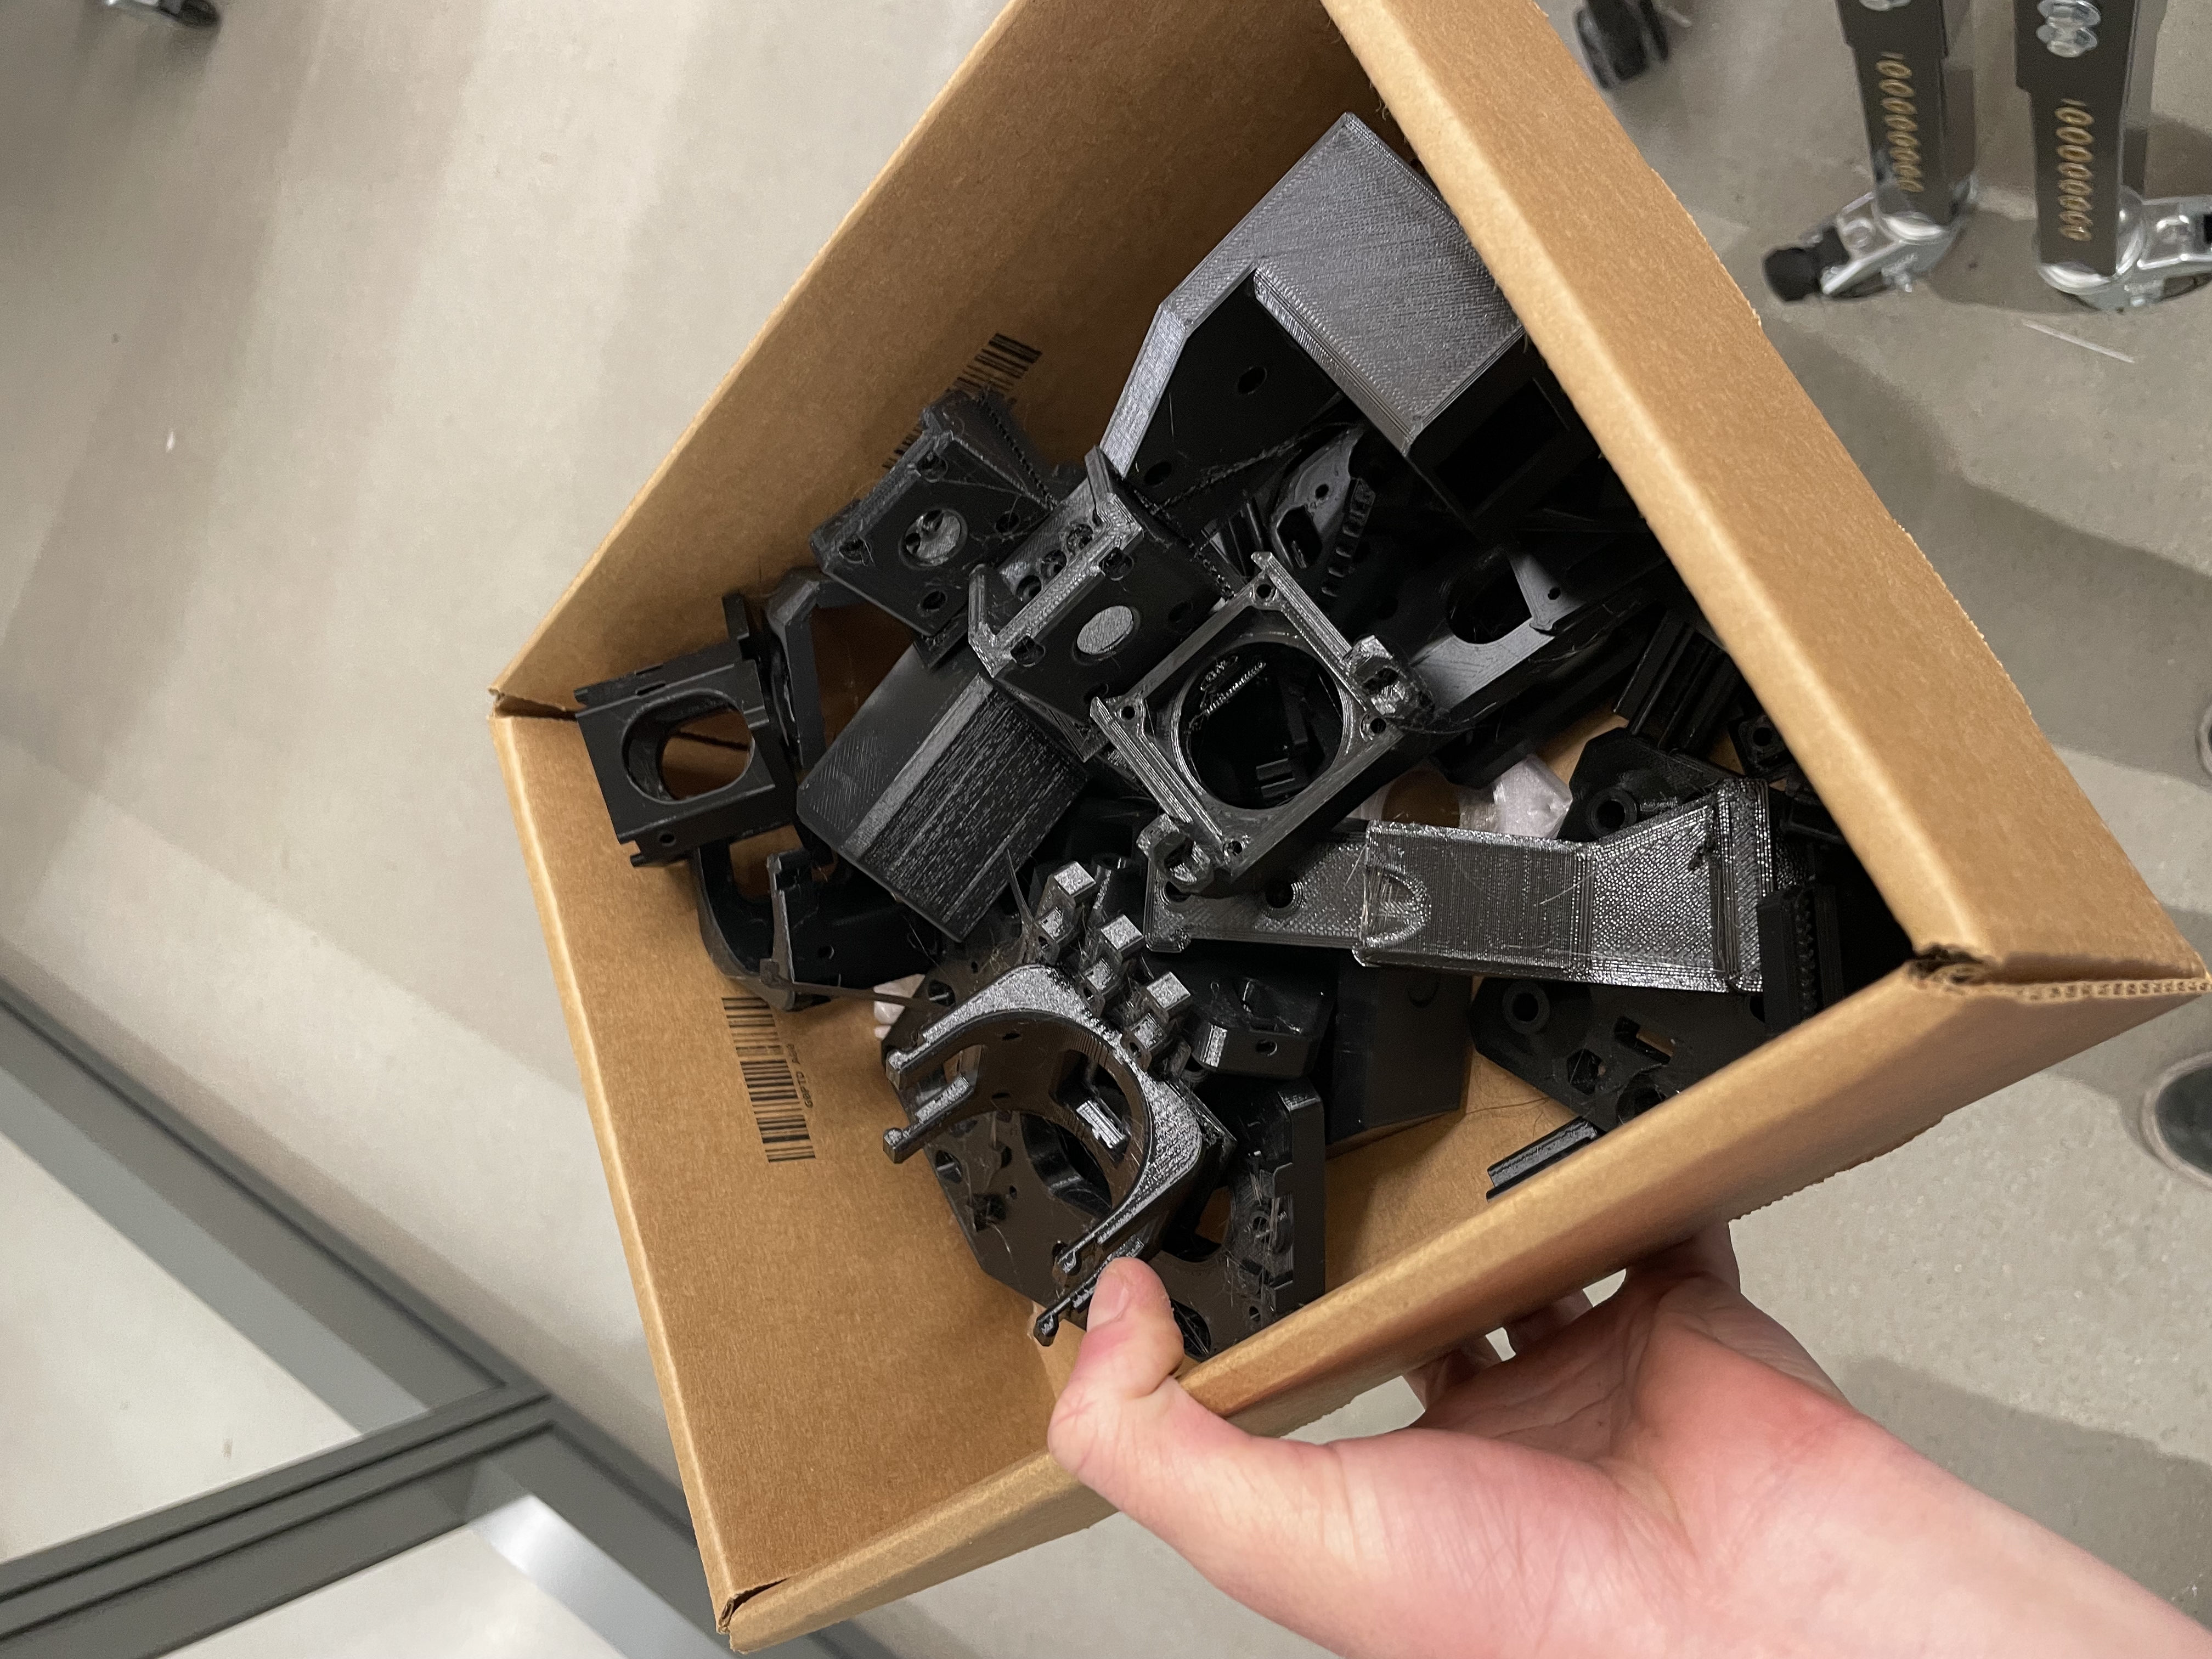
- Print out all the parts
- Order stuff from amazon
- Order stuff from Opulo
- Order nozzles from aliexpress
- Order belts from vbeltguys
- Order the hardware from amazon
- Order the cameras from amazon
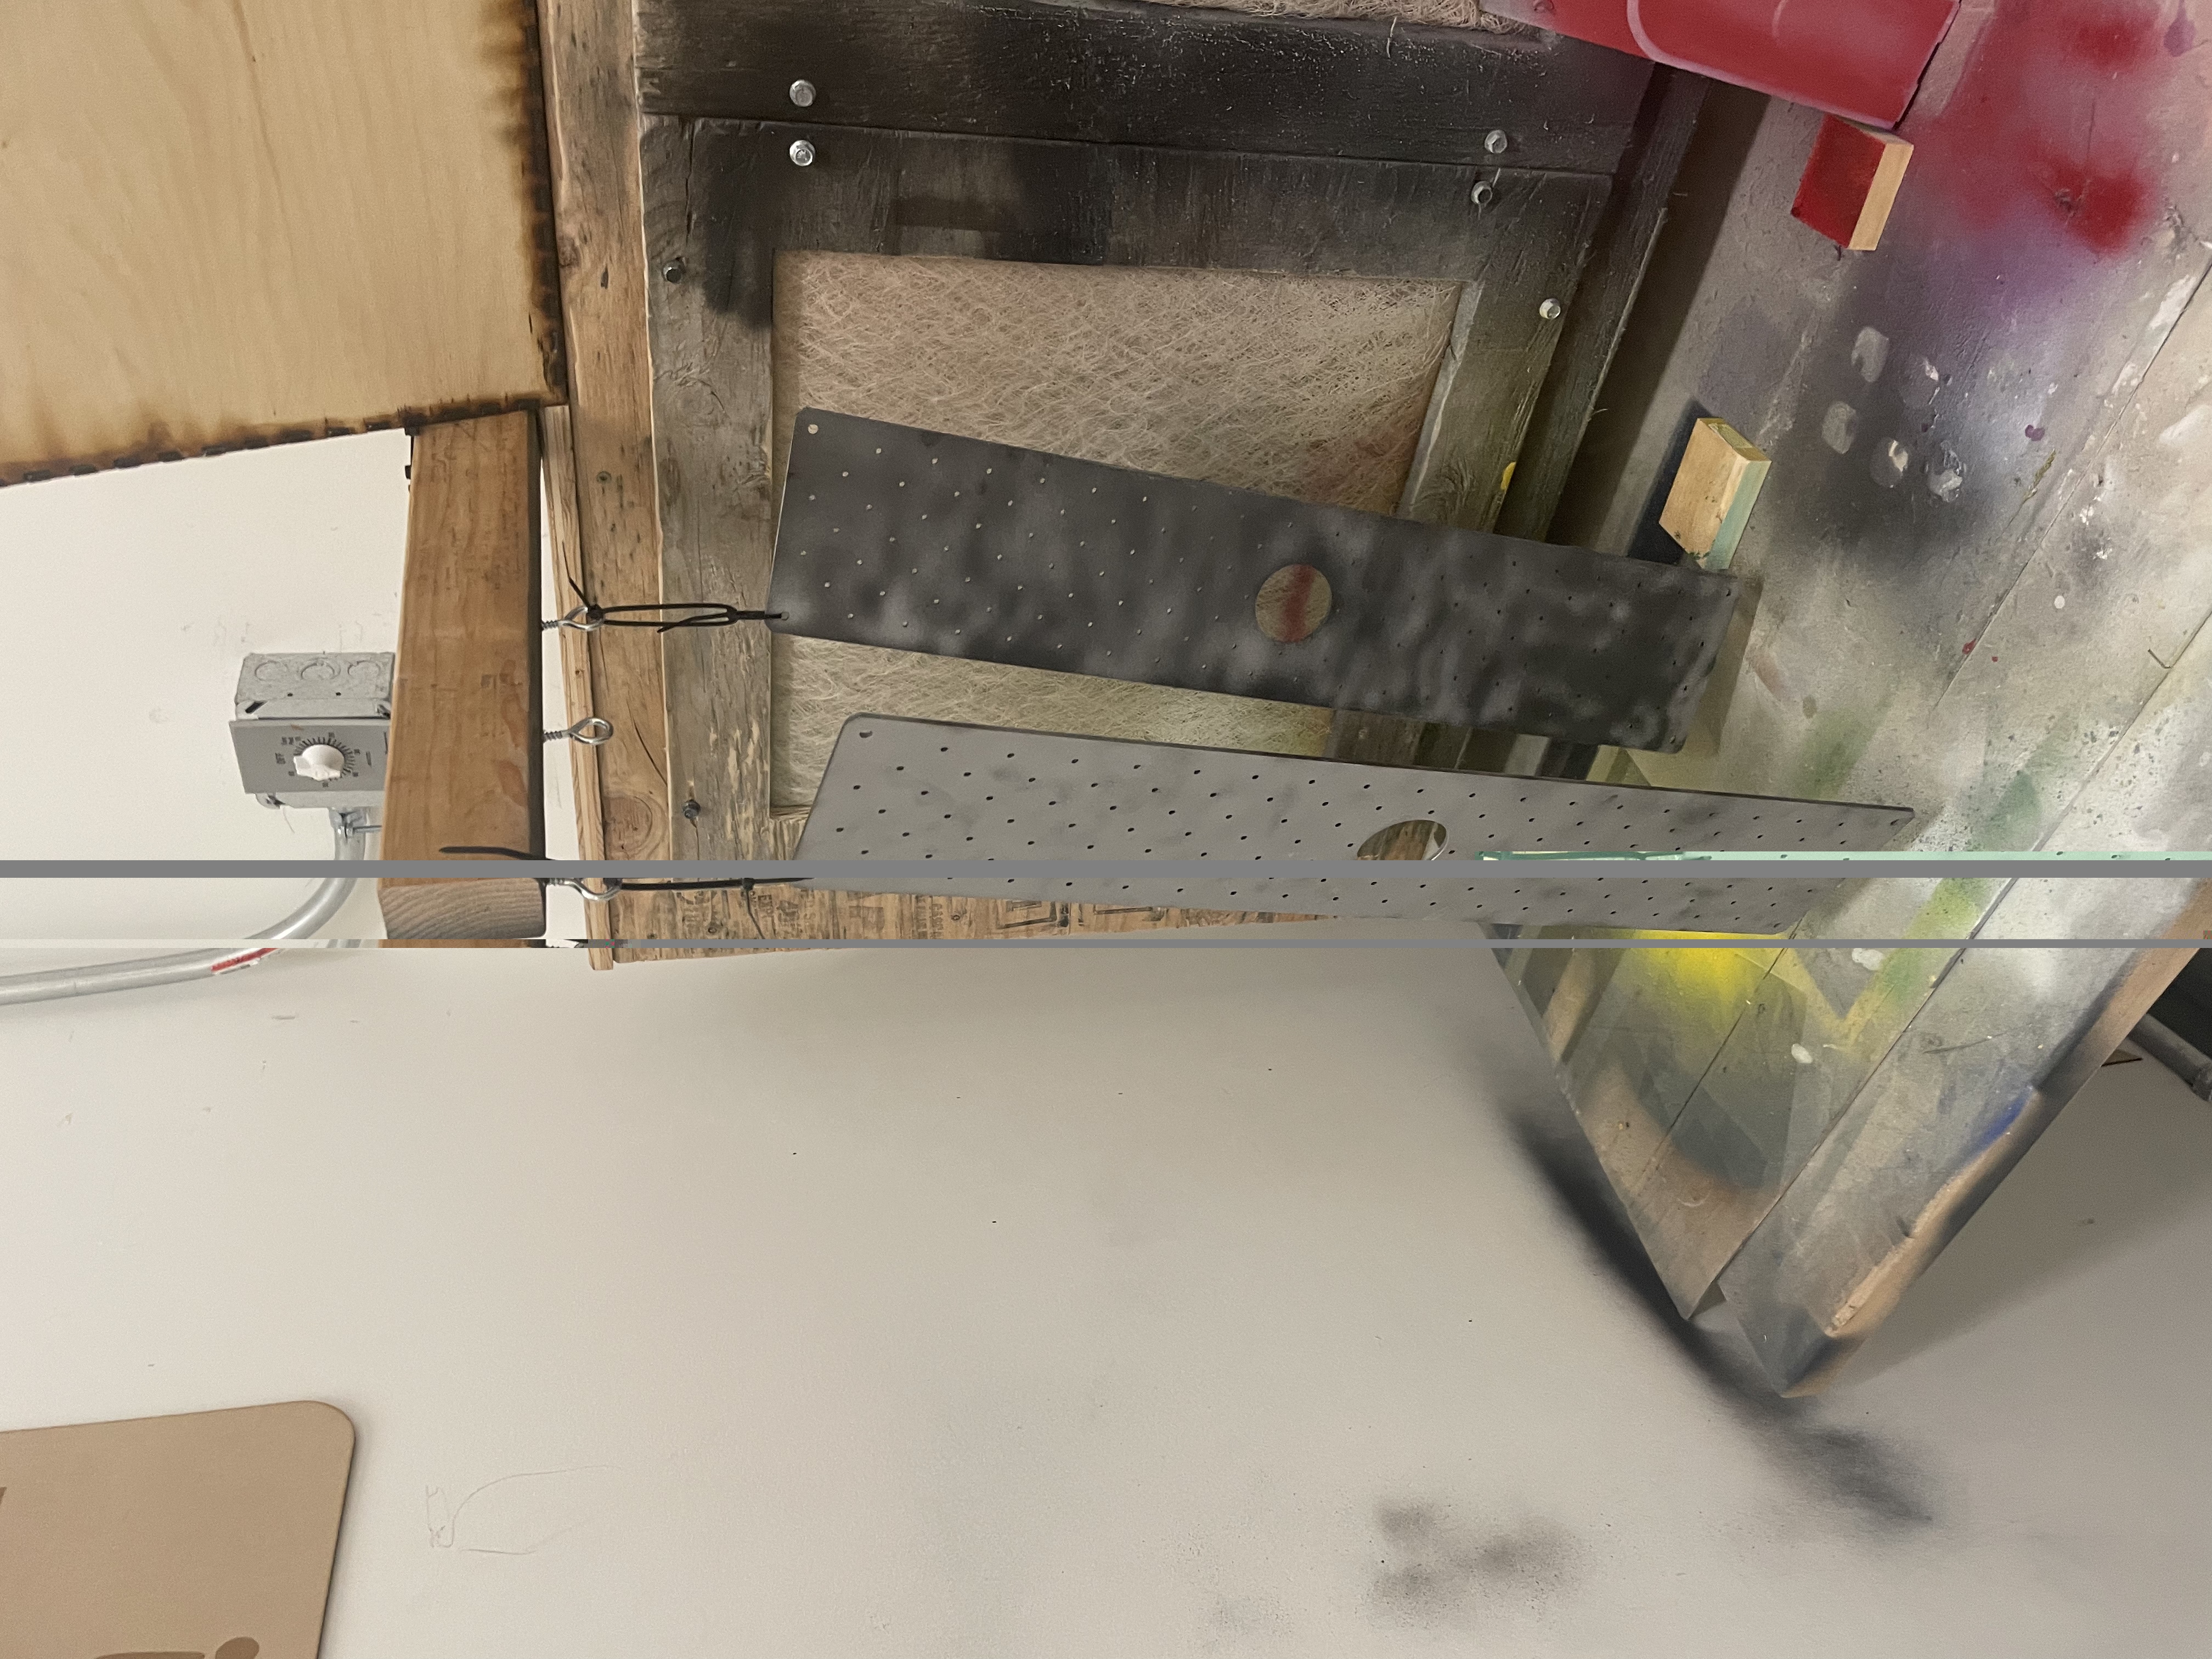
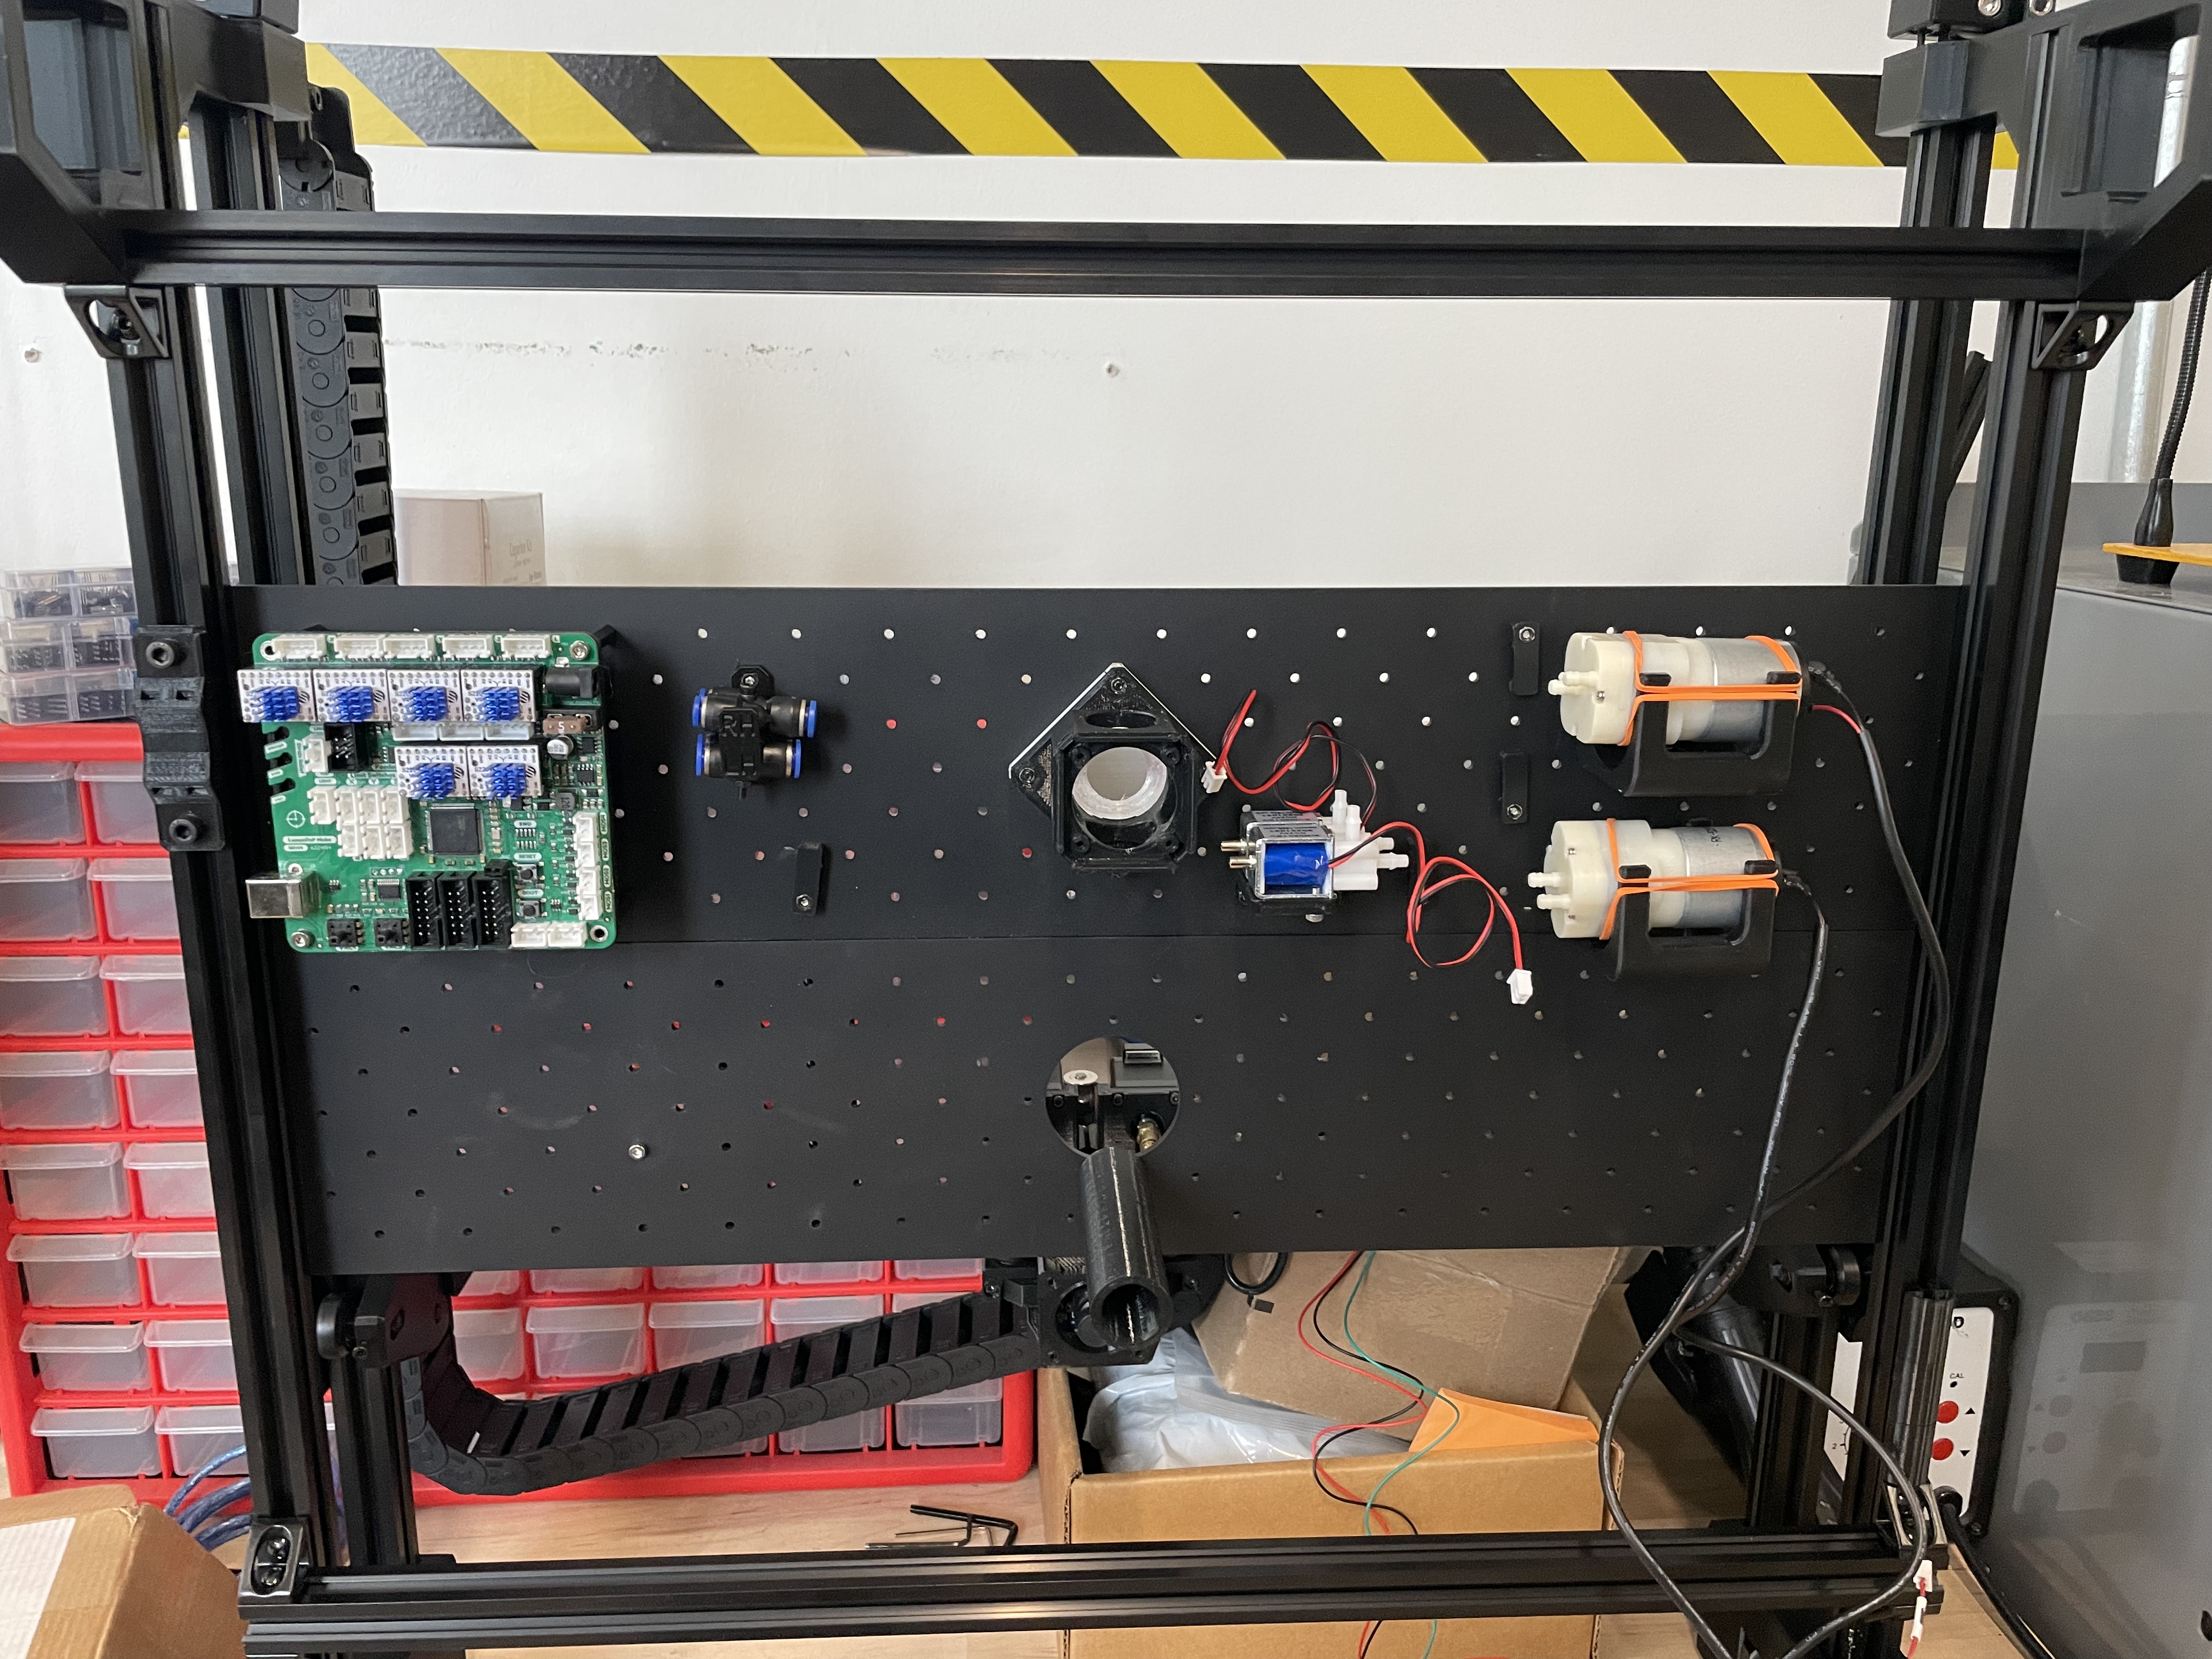
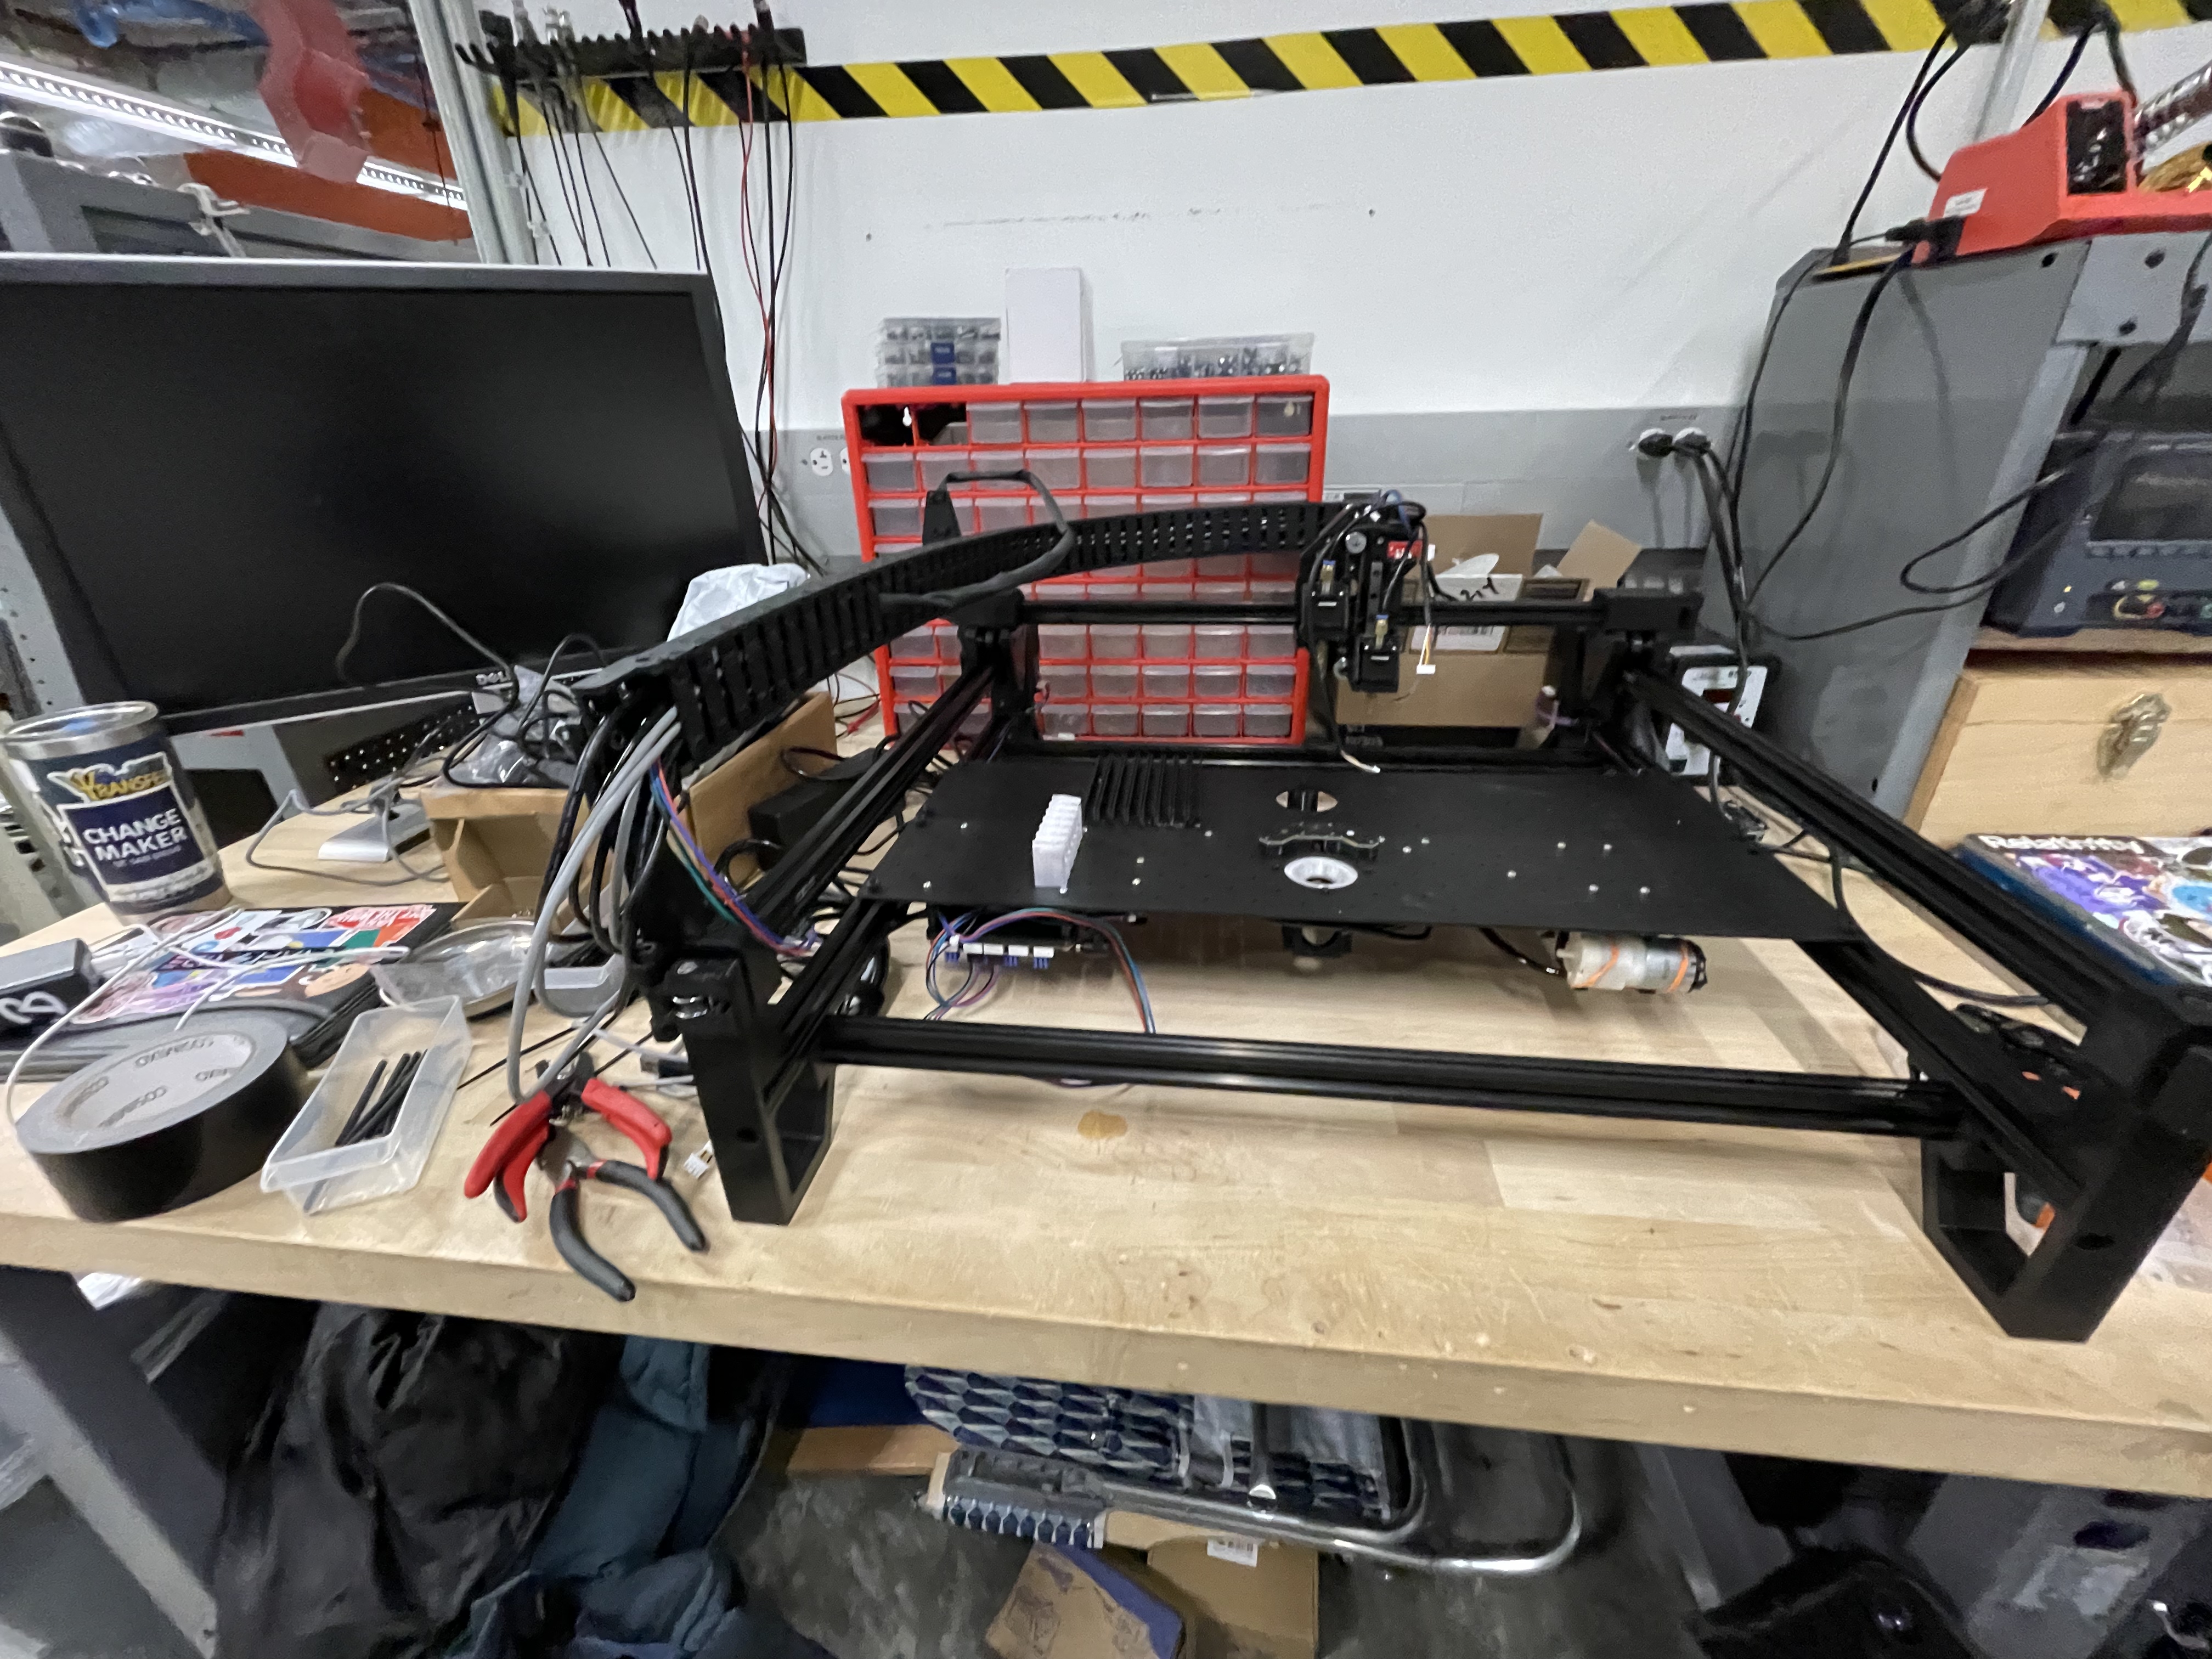
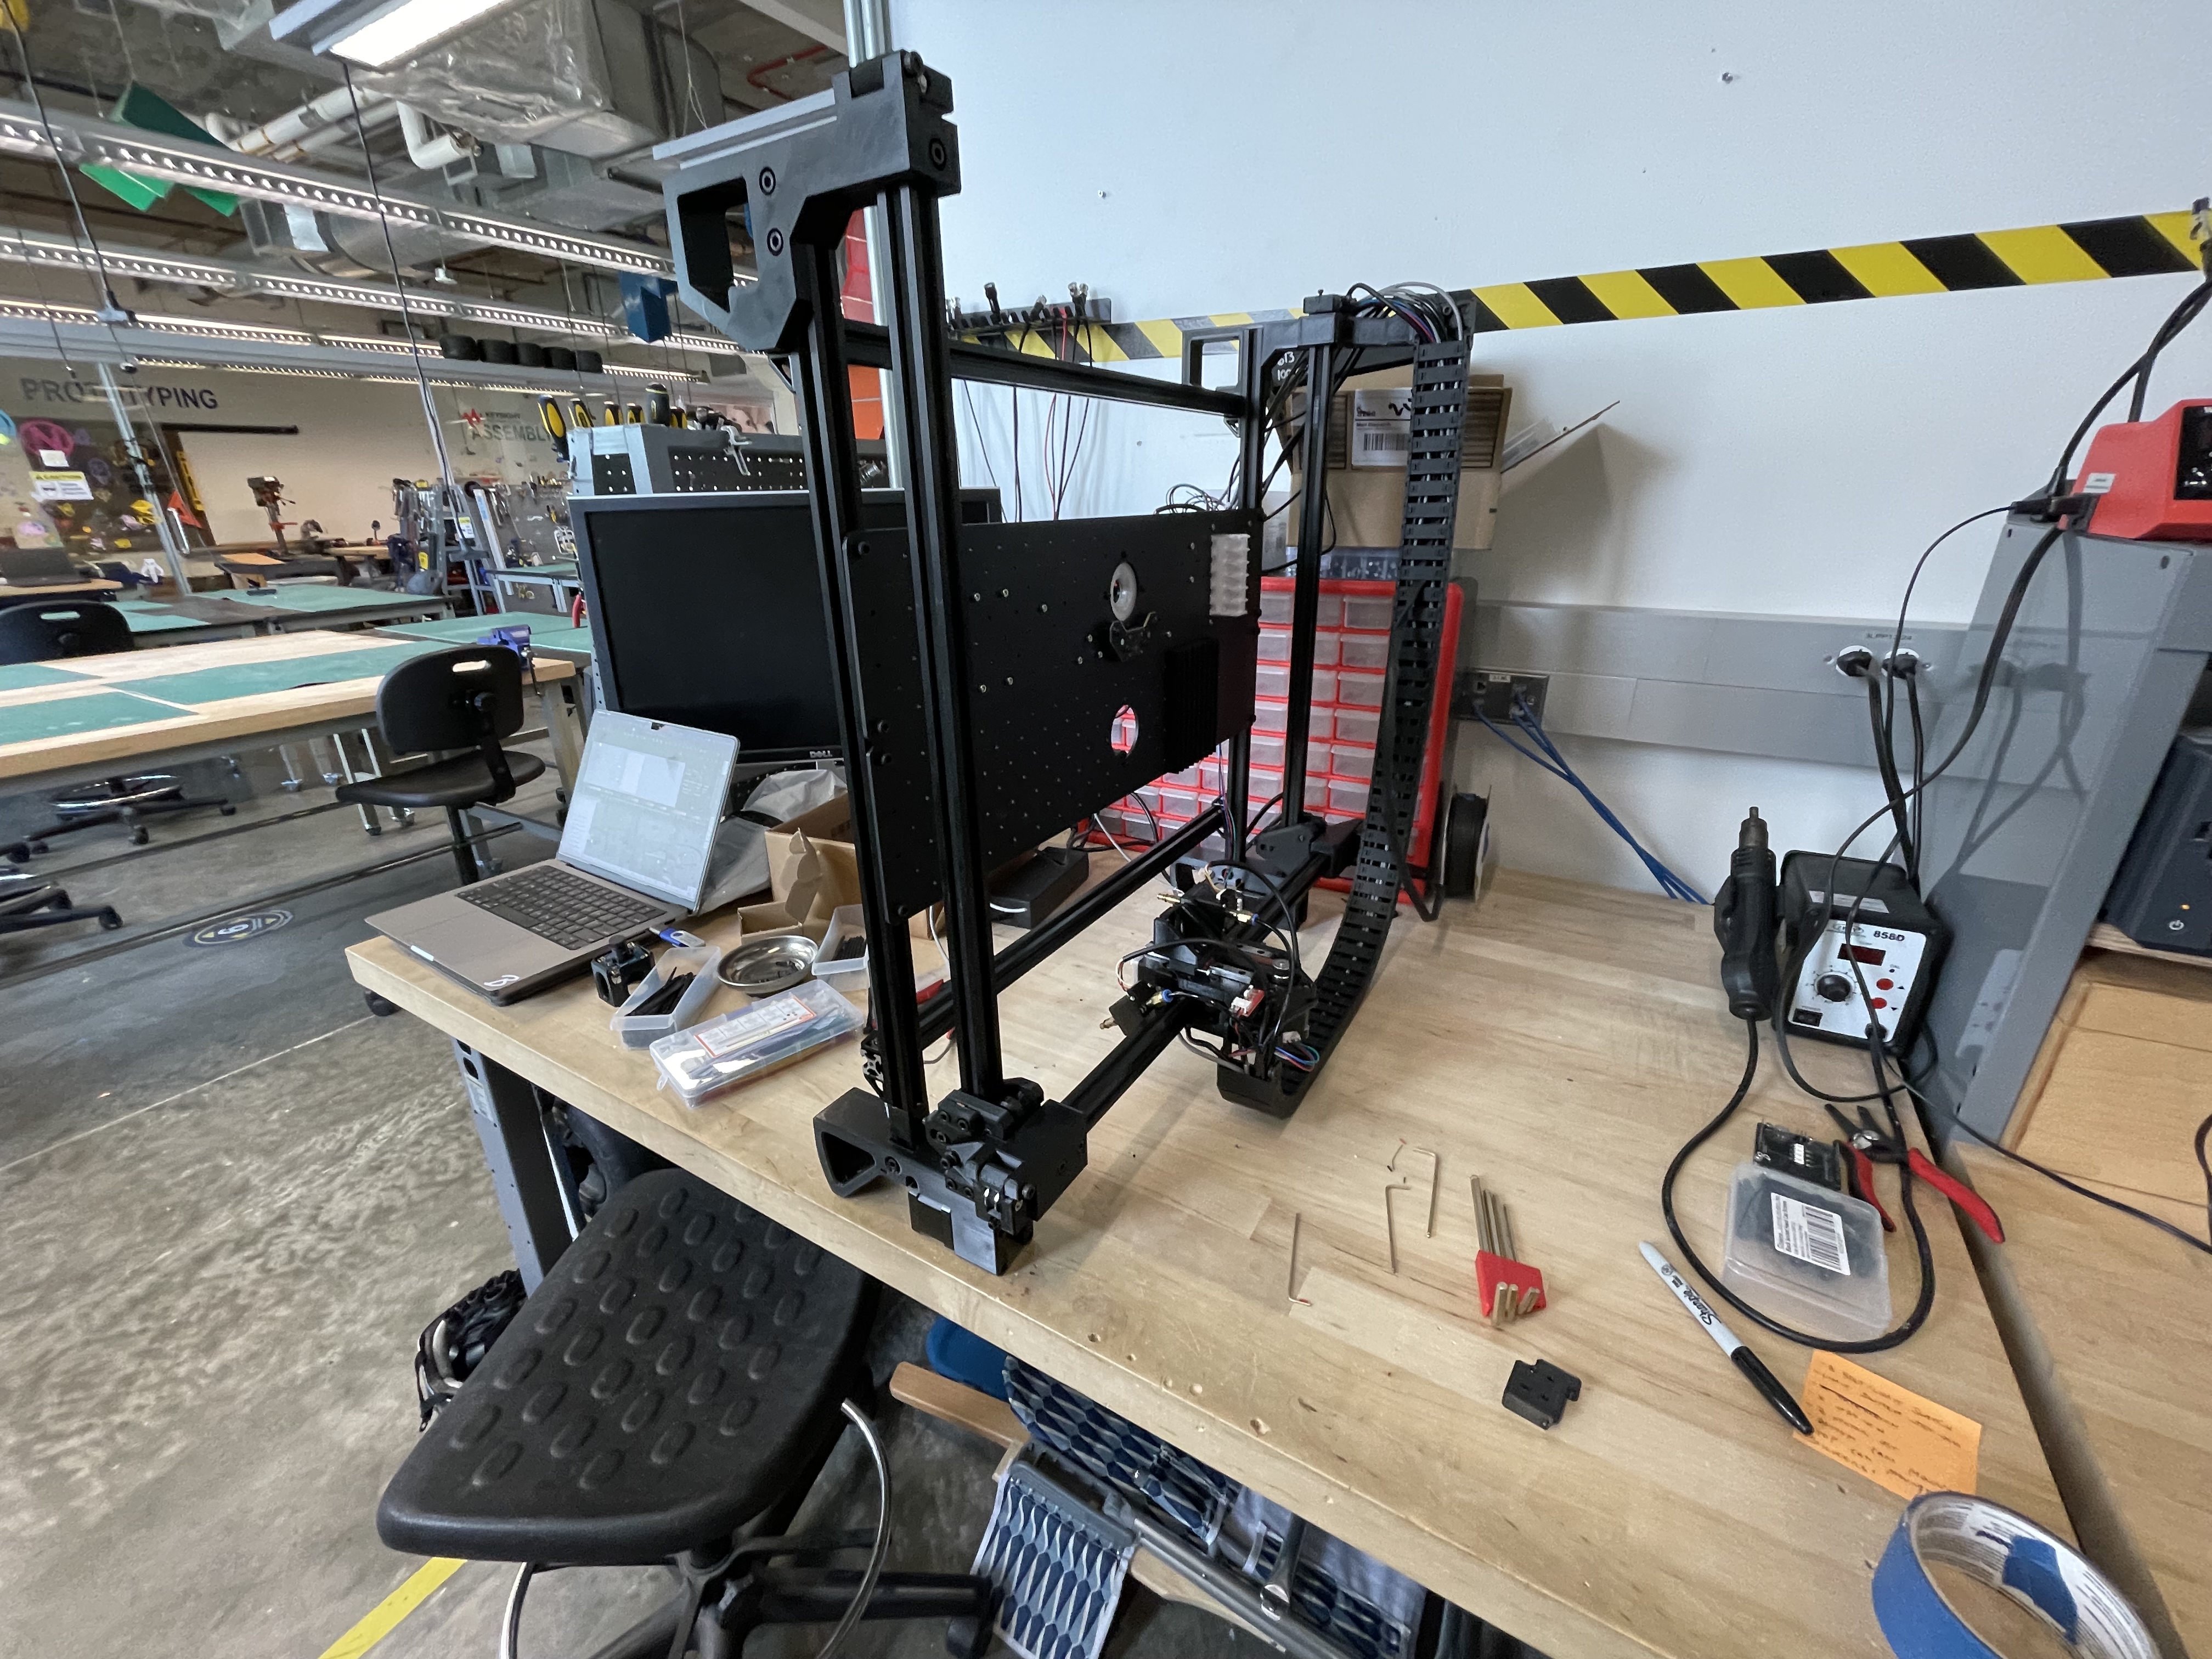
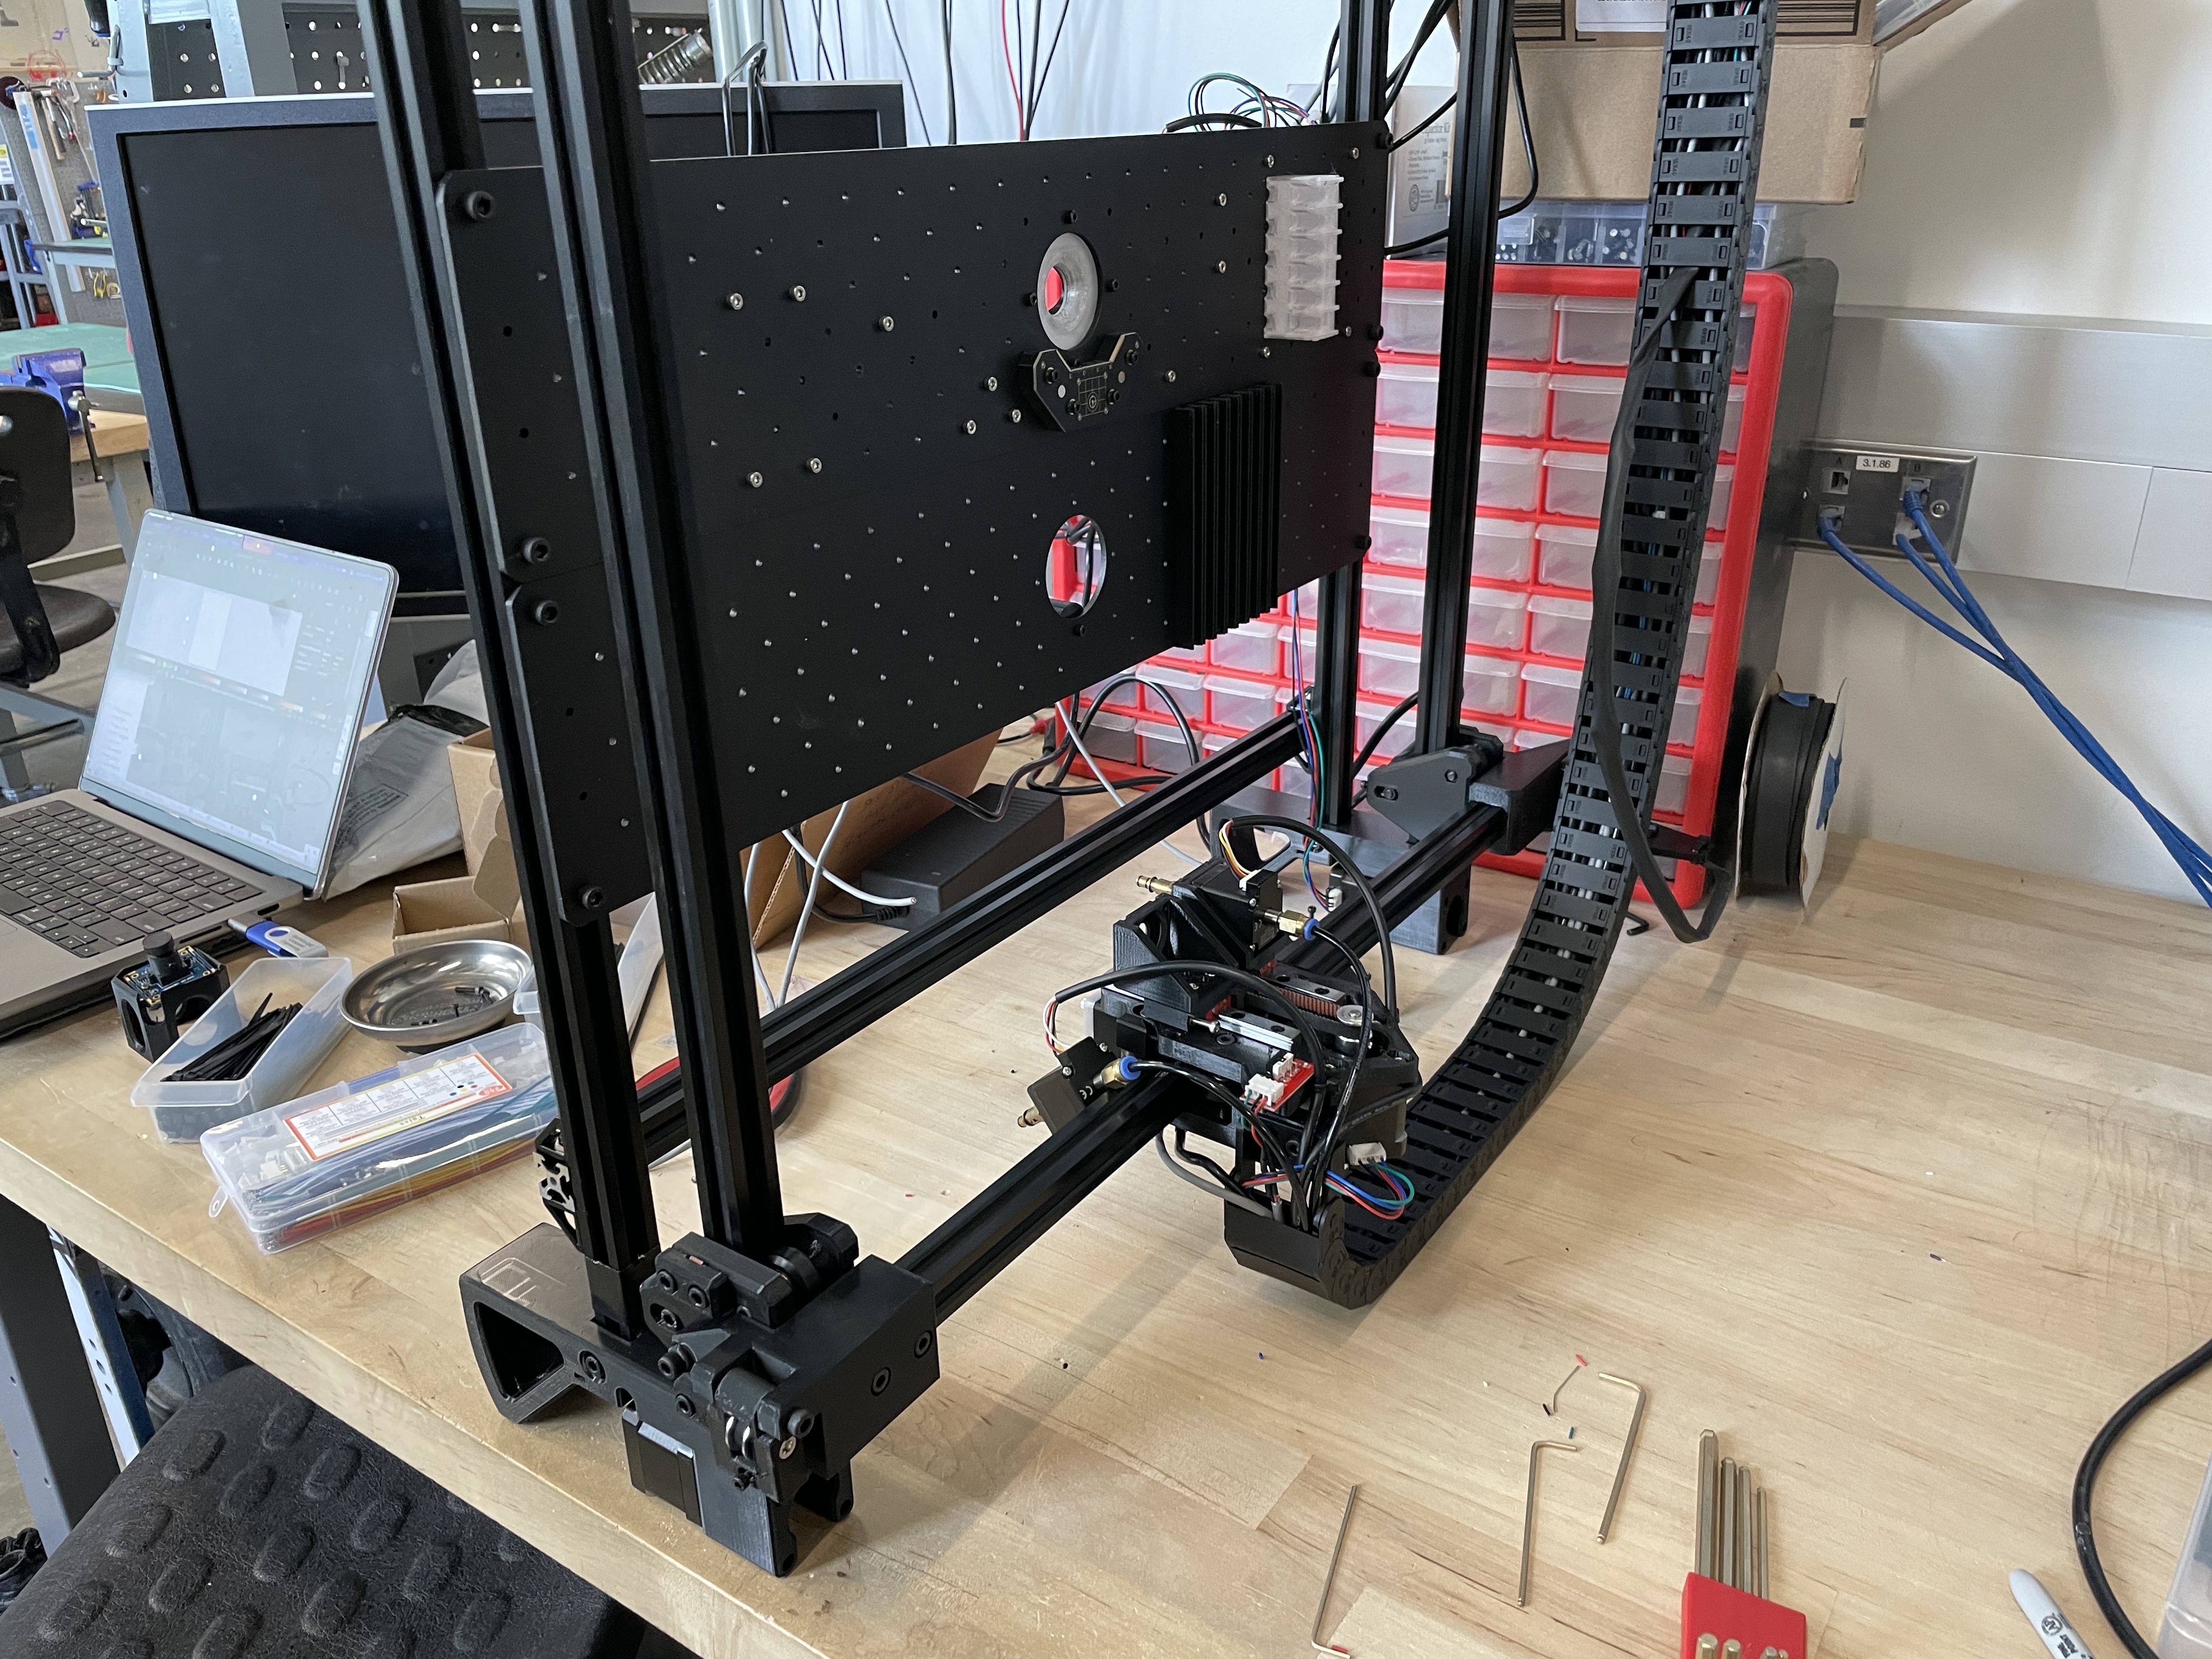
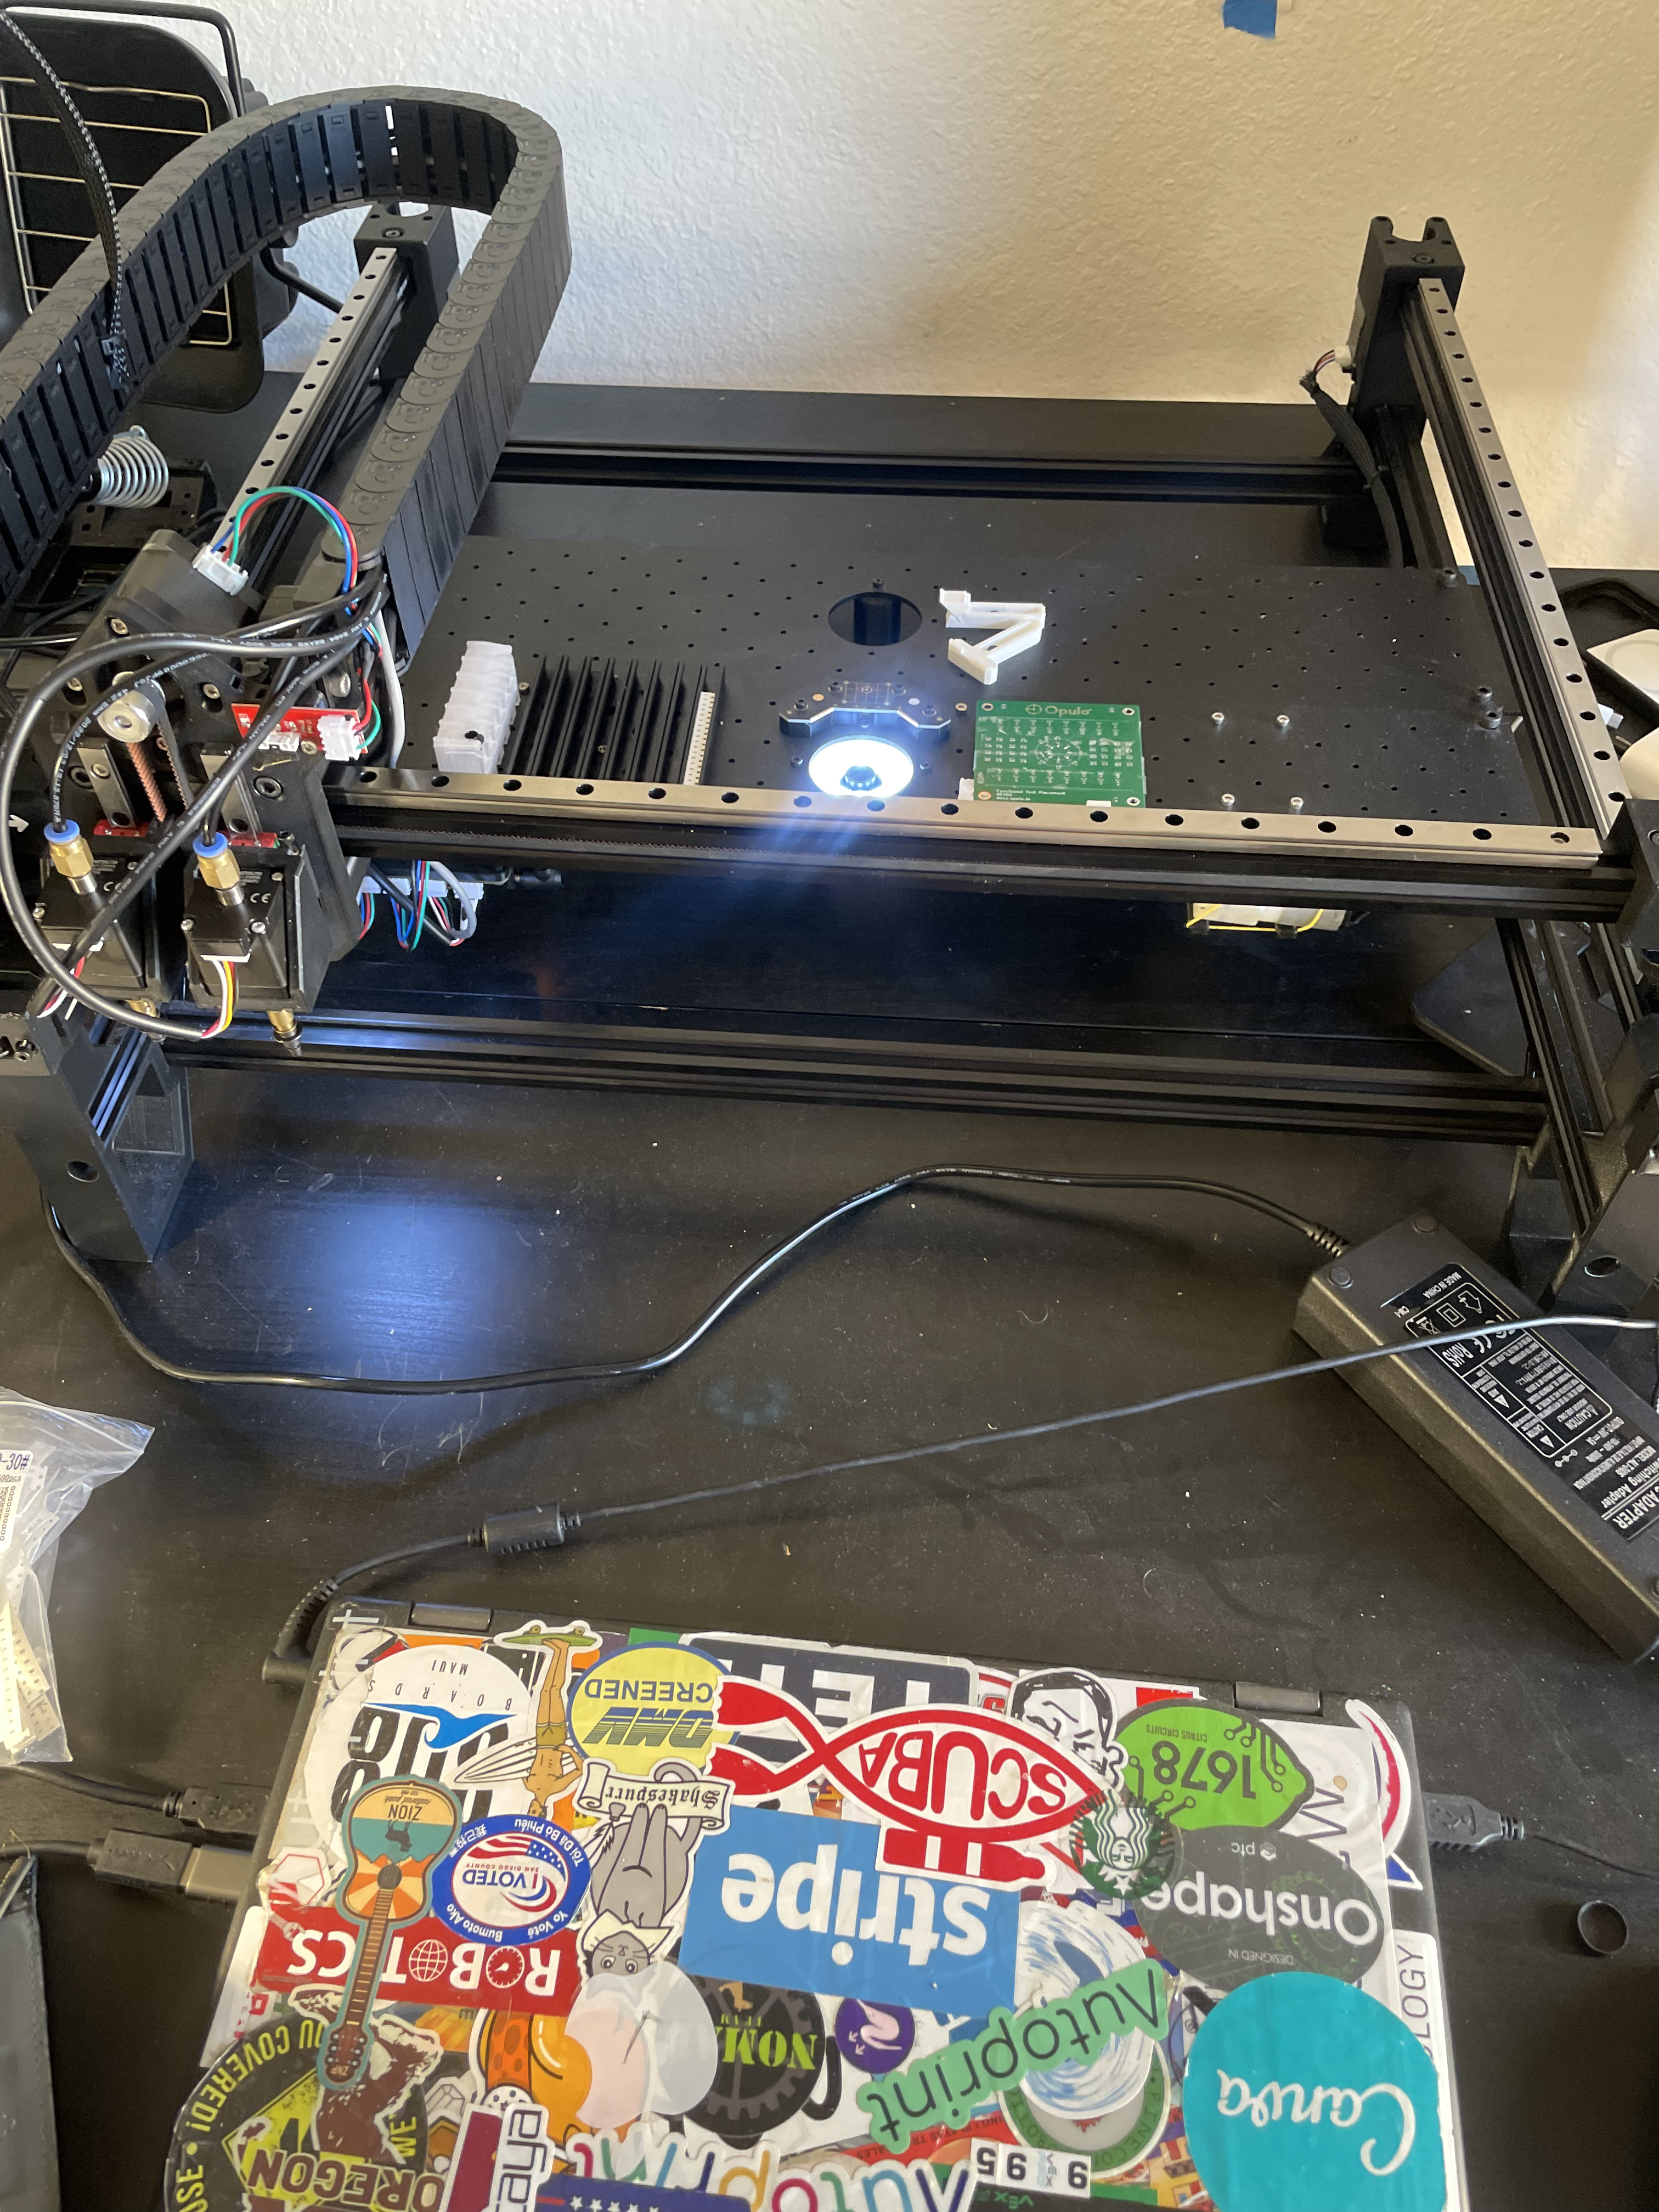
Below is a photo montage of the build!
So. I was never able to get it reliable enough to populate in the first month of me making the machine.
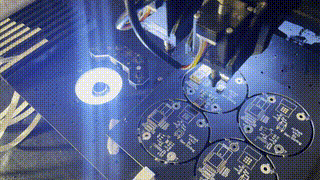
Here is a video demonstrating some issues I encountered:
I adjusted the bottom camera, and got more reliable Computer Vision.
I added Linear rails and now I am testing with that!
It is so good and reliable! My personal test is the “Double Cap Stack”, which it did without hesitation.
Here are some GIFs of it in action:

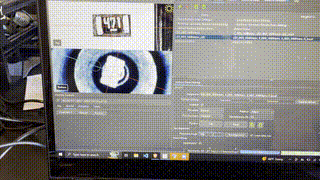
Here is a video demonstrating some success I encountered: